
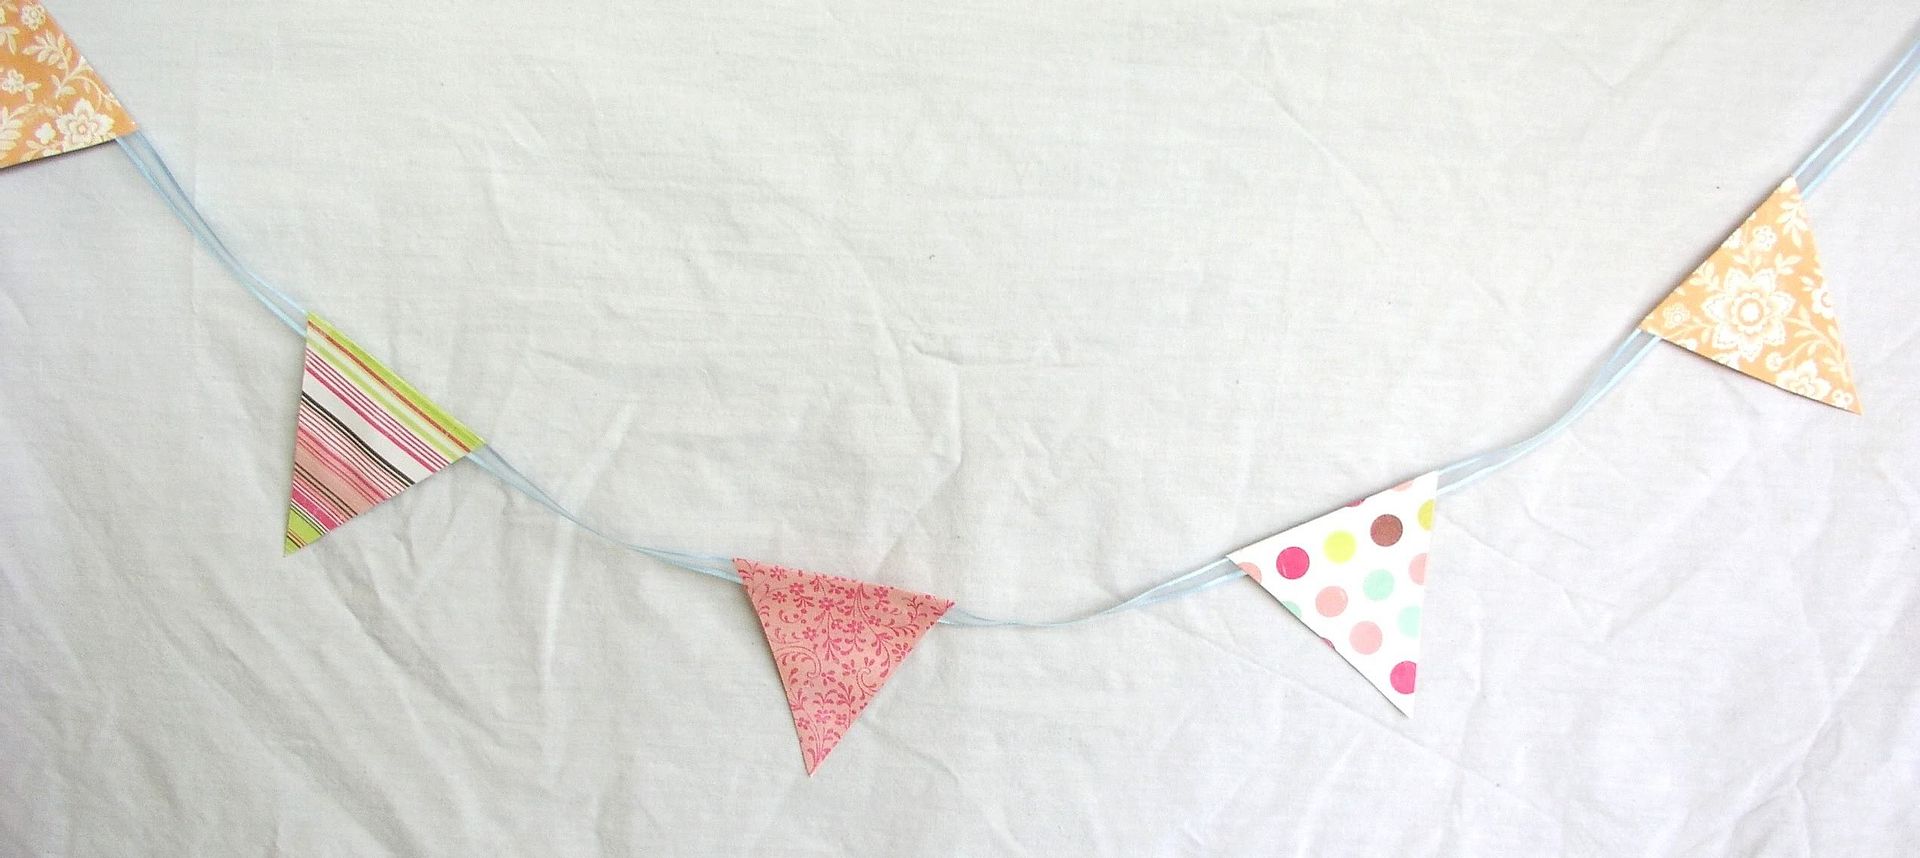
How to make a paper banner
Whether your sprucing up your space or child's room, decorating for a birthday party, or looking to craft something up just for fun, these banners perfect for you!
Whether your sprucing up your space or child's room, decorating for a birthday party, or looking to craft something up just for fun, these banners perfect for you!
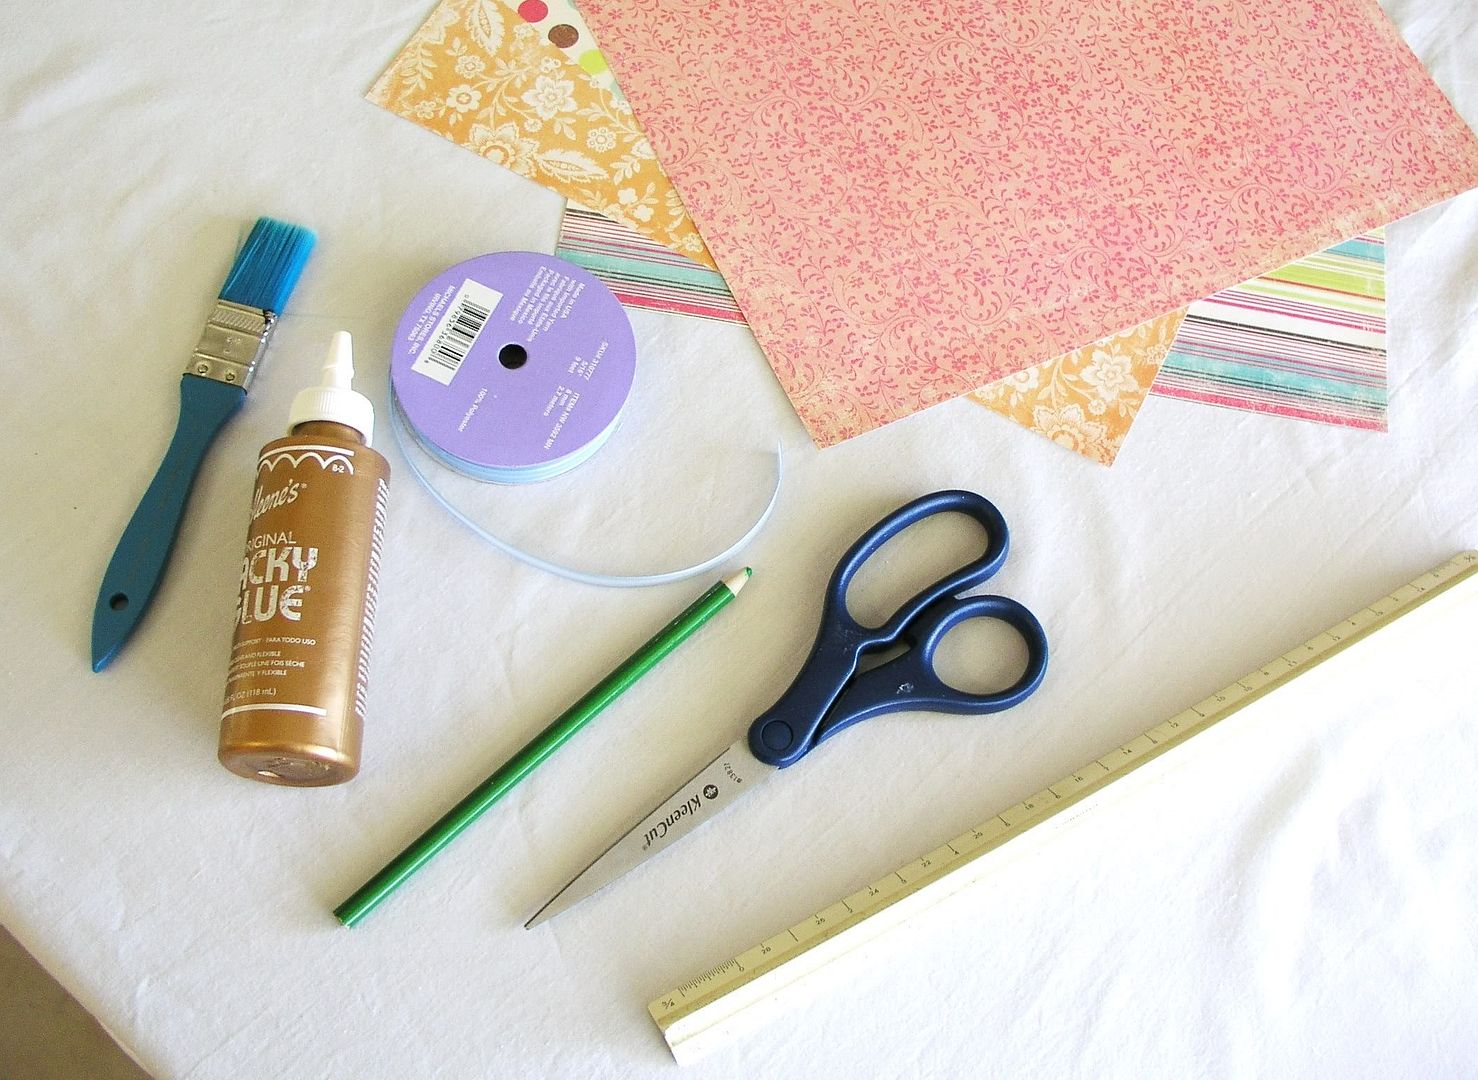
Supplies:
-Assortment of paper
-Twine, ribbon, or string
-Scissors
-Ruler
-Pencil
-Paste
-Paint brush
-Small bowl
-Books (optional)
-Twine, ribbon, or string
-Scissors
-Ruler
-Pencil
-Paste
-Paint brush
-Small bowl
-Books (optional)
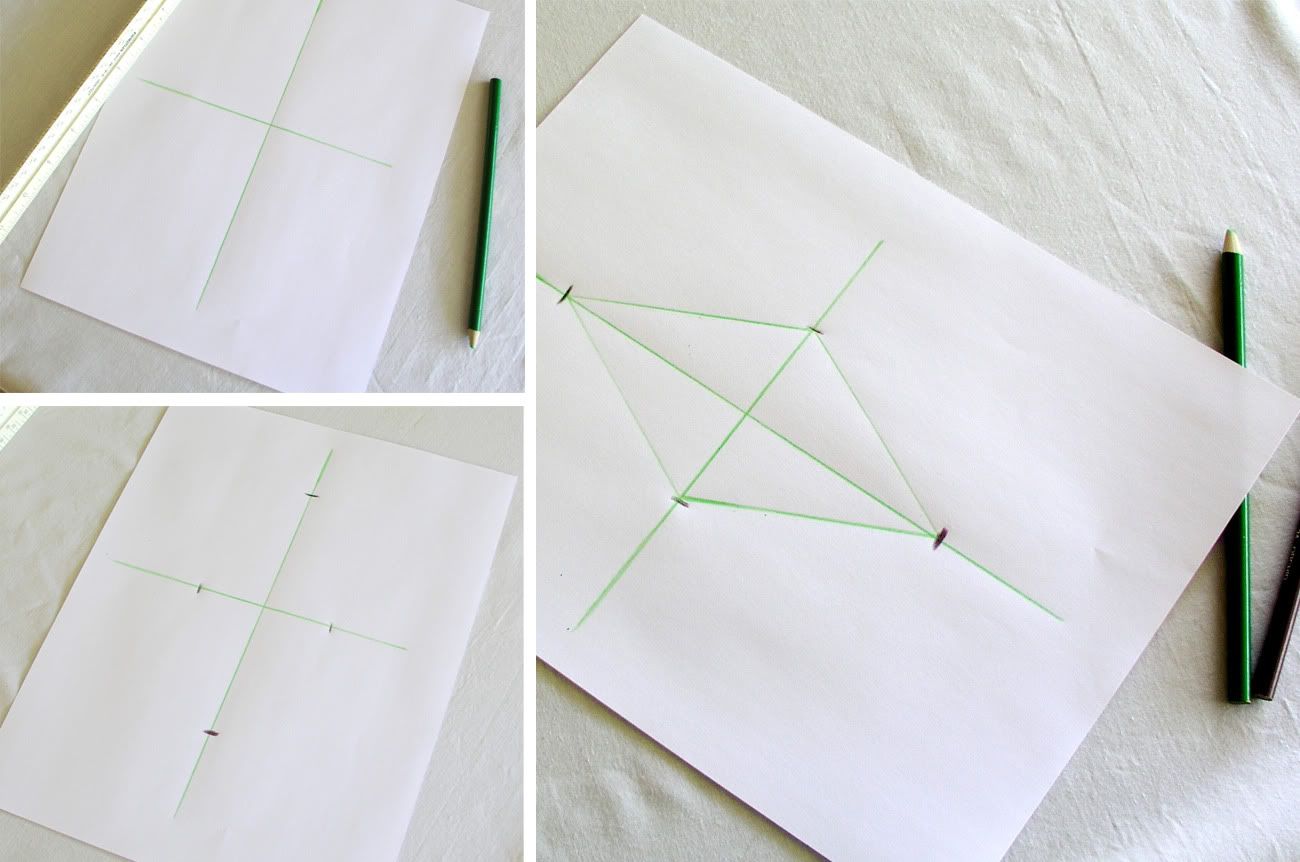
1. Create your template. The best way I've found to do this is to start by drawing two perpendicular lines. Draw a notch as far out as you prefer on one of the lines (this is going to be width of the top of your flag). Measure the distance between the middle line and draw another notch on the other side of that line. Now do the same thing for the length of your flags. Using a straight edge, "connect the dots" of all of your notches. Cut out the template. If you'd like, you can trace this template onto card stock or a thin piece of card board for a firmer template. Your flags can be any size you'd like. Today I'm making them 3" wide by 3" high.
2. Gather an assortment of complimentary papers. You can use anything from photos to scrapbook paper to wallpaper. Here's a tip: I used to work at a wallpaper store, and when the sample books expire they would save them for crafters or teachers. You might want to try your local wallpaper shop and see if they have any on hand, or if they'll save them for you in the future.
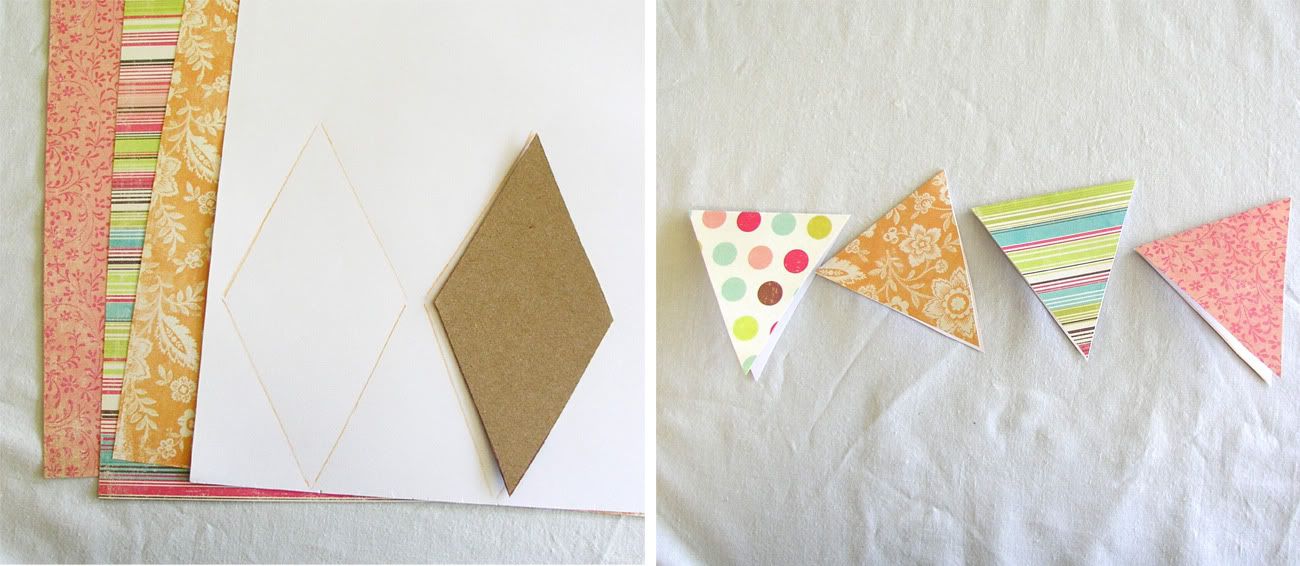
3. Trace your pattern. Using the template, outline the diamond shape on your selected papers. You'll have to decide how many you want to use. The banner can be full with flags for a dramatic look or airy with the flags spaced out.
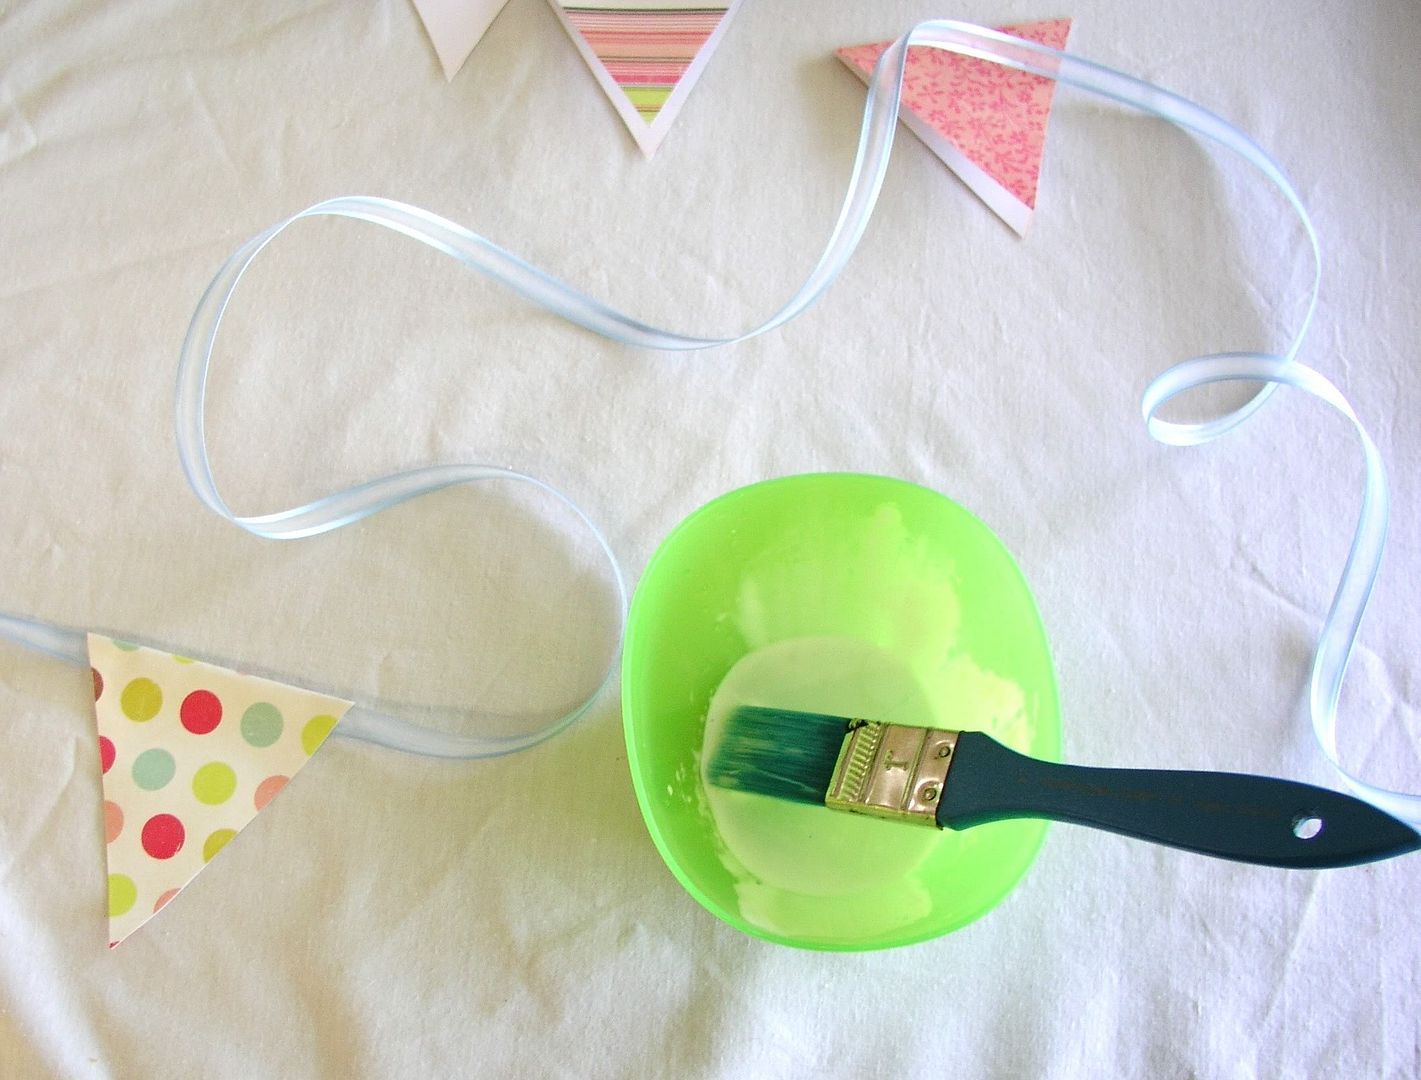
4. Cut, fold, and glue. Once you have all the triangles cut out, fold them in half to prepare them for their new home on a ribbon or string. Squirt some glue in the bowl (you may need to dilute it with a little water). Using the paintbrush, cover the inside of your flag (one at a time) with a light coat of glue. Place the ribbon/string inside the flag. Fold the flag and firmly press it together. Repeat this step until you have as many flags as you'd like. Tip: Bakers twine and string work great for tiny banners while ribbon is ideal for larger flags.
5. Let dry between books. This will ensure the the flags don't curl during the drying process. Allow at least a few hours to dry.
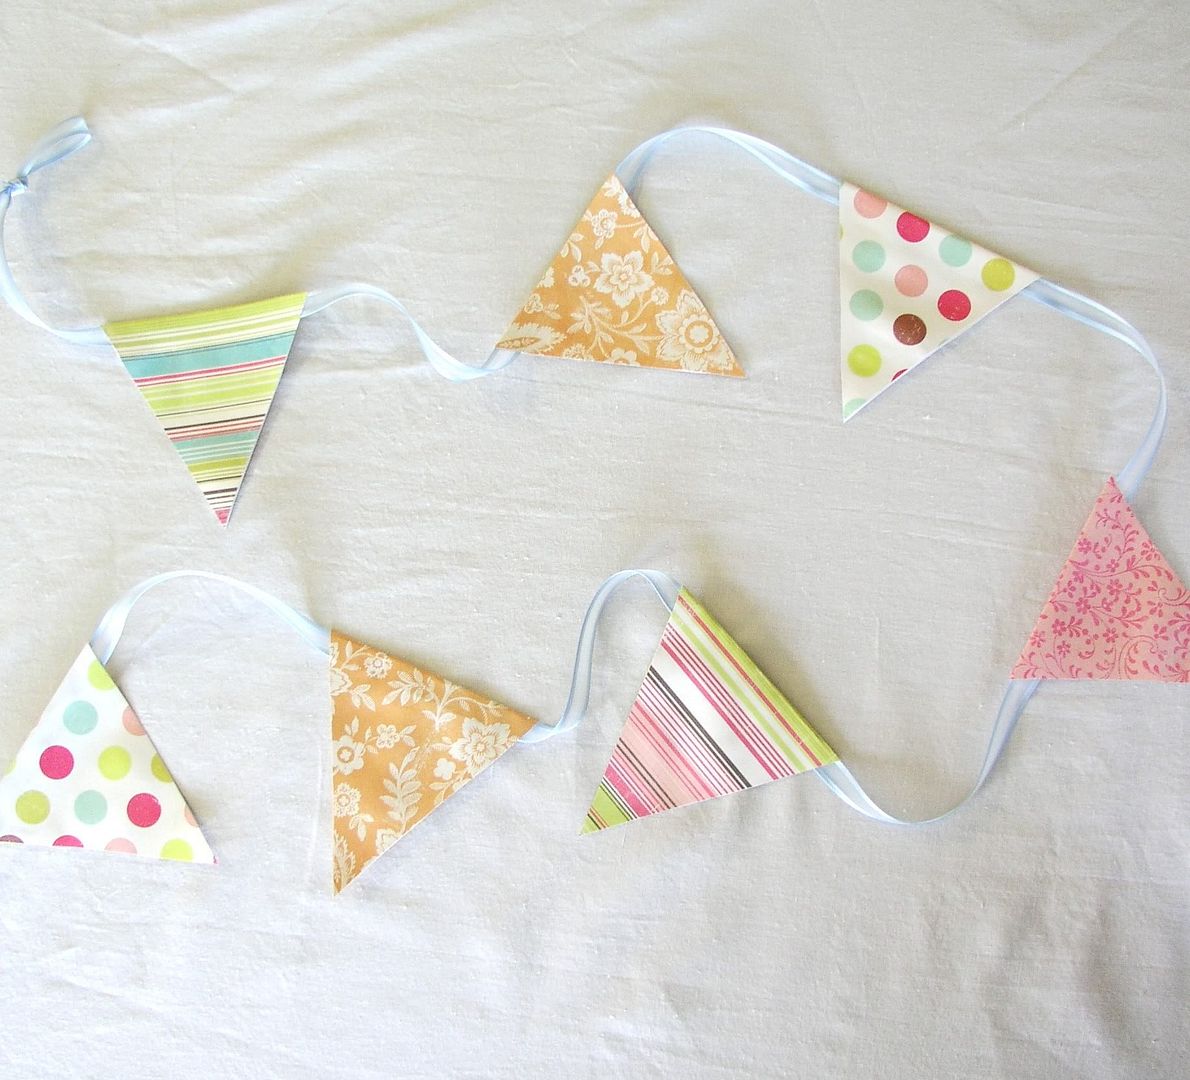
So that's all it takes to create these darling banners! If you're interested in purchasing one for yourself, please visit my shop.
So that's all it takes to create these darling banners! If you're interested in purchasing one for yourself, please visit my shop.
No comments:
Post a Comment